Thursday, October 8, 2015

Kitchen Overhaul

For this specific project, the client wanted to open up the kitchen space so that it freely flowed into the living room area. The existing kitchen was enclosed, making the space feel pretty crammed. After doing some research and popping some holes in the walls, I was able to determine that none of the walls were load bearing, so we were able to demolish them. We had to patch in some tile, re-do the knock down texture on the ceilings where the walls were removed, and do some minor framing work to set up for the new kitchen cabinet layout. The granite top selected was "Austral Dream", the cabinets were maple Omega Dynasty, with an Oyster Cognac stain color. The pendant lights are Swarovski chandeliers, and we installed LED lighting in the upper glass cabinets, as well as LED under-cabinet lighting throughout. The kitchen came out looking gorgeous. Below are progress and finish pictures.


existing kitchen

enclosed existing kitchen

mid-demo


finished product


Mediterranean Mansion

This is a beautiful new Mediterranean Home that my Dad and I finished up back in July of this year. The house really turned out to be a masterpiece - it has a nicely designed open floor plan with 24" x 24" marble installed throughout the ground floor. Upstairs contains three guest bedrooms and one enormous master bedroom / bathroom with the largest hers closet that we have ever constructed. There is also a sauna attached to the master bathroom. The house came together beautifully - here are a few progress / finish product pictures.


Front elevation


Master Bathroom


pouring the first floor tie beam


front of the house coming together

Bathroom/Bedroom Remodel

For this specific project, the homeowner requested my services to transform what was originally a garage space into a new and improved bedroom and bathroom build-out. The garage wall had already been enclosed with CMU block and there was an existing make-shift bedroom, but we added a shower, toilet, vanity, stackable laundry closet, re-did the flooring with new laminate floors, and swapped out the existing water heater. Because the space was pretty tight, it was difficult to get pictures to represent the flow of the bathroom, bedroom, and intermediary spaces, but I was able to capture the new shower space. The shower tile that was selected was a green glass stacked subway tile and a modernistic rocky shower pan tile was selected along with a nice frameless shower door. The job was much improved and I think it turned out looking great.


We had to cut the concrete to route underground plumbing for toilet and vanity


The sanitary line was tied into the existing sanitary lateral leading to city sewer system


Pretty cool tile selection made by the owner

Frameless shower door with soap niche


stone/rock tile for the shower pan - it looks really cool and is definitely slip-resistant!

Sometimes new is better....

Over the past few weeks, I have been in the process of renovating my kitchen.  My house is a 1959 relic, and everything about the house is archaic and original. The bathrooms have the cotton candy 4” x 4” pink tiles and pink bathtub, the floors are made of poured terrazzo, there is an indoor/outdoor Florida room with jalousie windows, and the house just has the overall feel of an Old Florida home. Since I officially became the homeowner, I have done some minor cosmetic work, but just haven’t had the opportunity to really customize any one facet of the house.  My first chance to make a drastic change to the house came a few weeks ago. At one of my projects, we were gutting the original kitchen, and doing a complete kitchen overhaul. The existing cabinets at the house though were high-end KraftMaid cabinets that are just not in vogue with the latest trends, yet still are very nicely crafted hickory wood / plywood cabinets. The homeowners were contemplating just getting rid of the cabinets, but my dad asked if they would be willing to allow me to be the beneficiary of the cabinets, and they obliged. My dad and I took measurements of my existing kitchen, and drew up a master plan and layout for the “new” cabinets. We had our restaurant napkin plan, and were ready to begin the next step.
So began the long and winding journey of removing the cabinets from their original locale, and relocating them to my house. This task sounded like a piece of cake, but until we began to physically dismantle the cabinets and remove the screws, we quickly learned that we were in for a difficult assignment. We managed to get all of the cabinets down without too much trouble, and then the next leg of the journey began – loading them in the Uhaul and transporting them to my residence. Thankfully, one of my good friends, Joe, offered up his services in helping with the move, and we managed to get everything over to my house without having too many issues.
After having removed the existing cabinets in my kitchen, my dad and I began to install the new cabinets, and to our great surprise, the layout was coming together flawlessly. One by one we placed the cabinets in their ultimate locations, and before we knew it, the job was done (in actuality the job dragged on way longer than either of us had hoped for it to).
After all of the cabinets were installed, I had the granite company template all of the countertops, and within 6 days they had the granite tops installed. I chose a 3CM Nettuno Bordeaux slab, which was 130” x 79”  - just large enough so that all of the tops were able to be cut out of one large slab. After the tops were in, the next step was to pick out a backsplash that would complement the granite, terrazzo floors, and hickory cabinets well. I decided to check out Lowes, to see if they might had any nice tile. I happened to find a green 3” x 6” glass subway tile, the manufacturer is Shoreline. I also picked out a glass border tile to add a little bit of a modern feel to the backsplash.

Once the tops were done, the backsplash installed, I took a trip to Brandsmart in order to pick out the appliances. I was able to find reasonably priced General Electric appliances for the slide-in range, over-the-range microwave, and 18” dishwasher. With a hop and a skip, the 
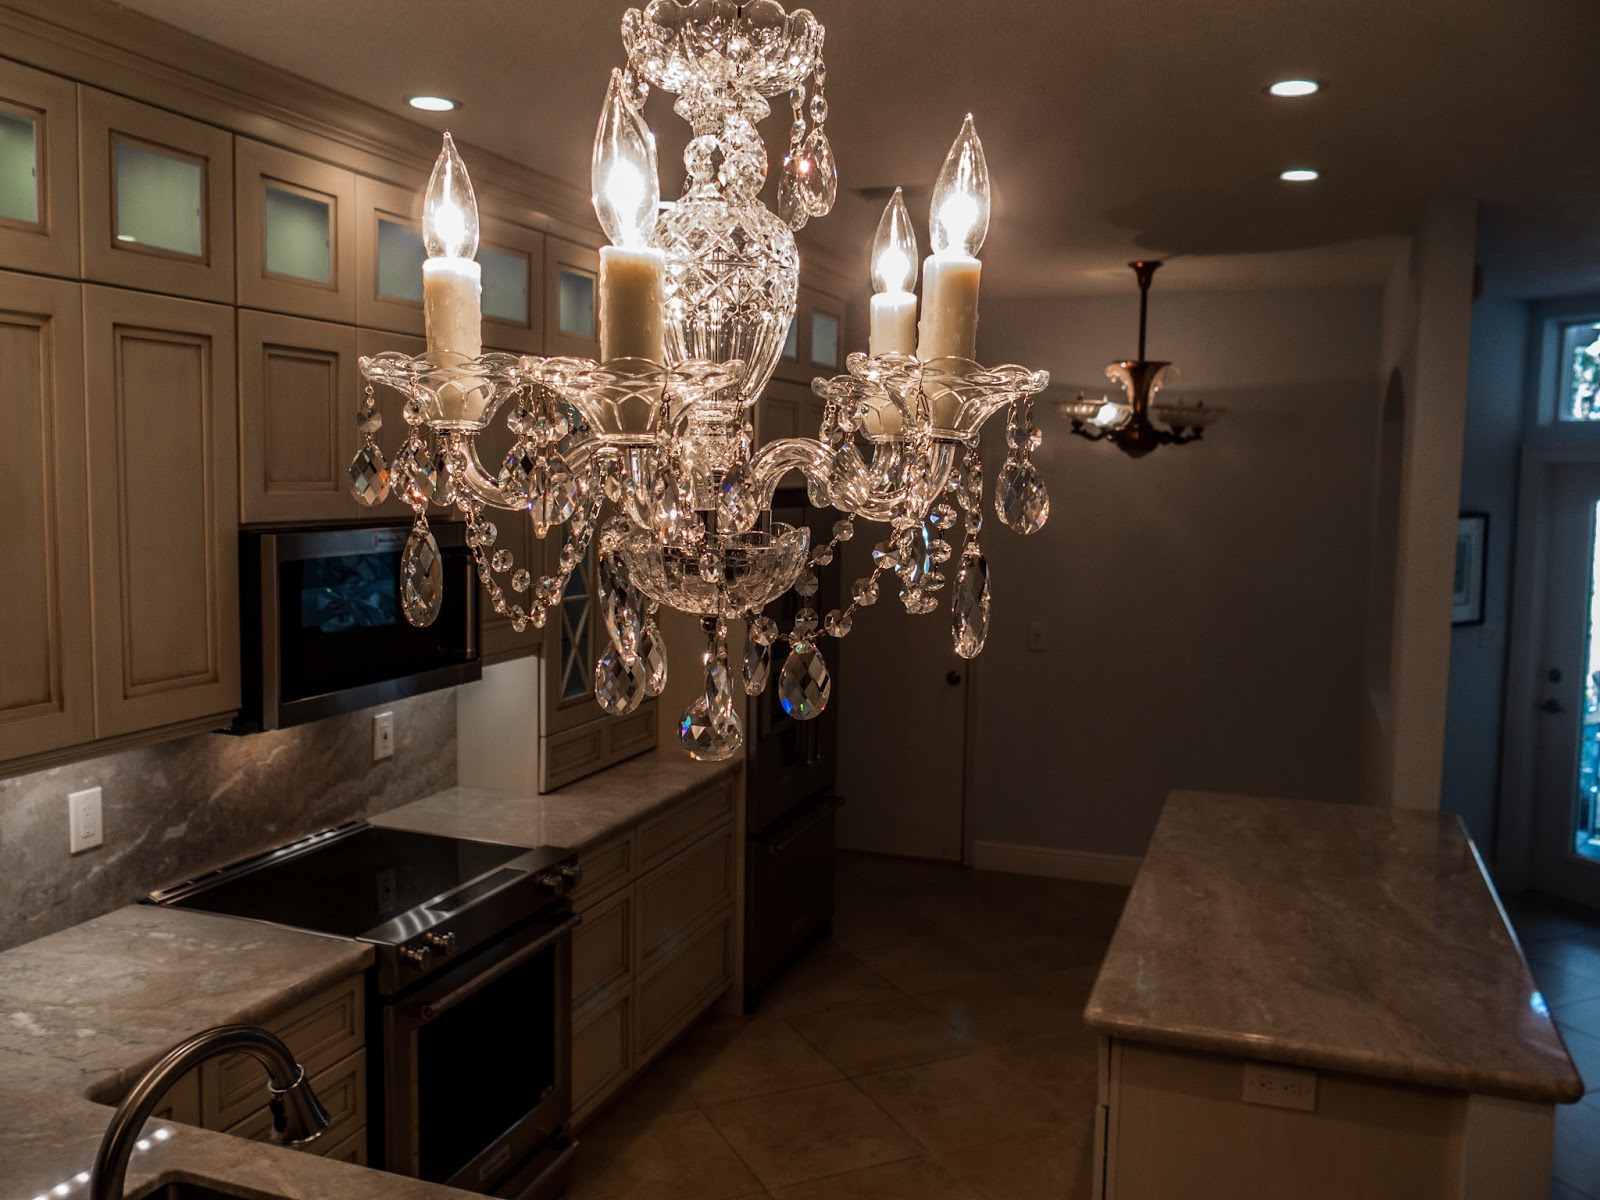
kitchen was completed, and below are the pictures of the final product. I was very pleased with how everything turned out, and was grateful to have the chance to re-use the cabinets and give them a new home!


Demo of the existing kitchen - what a mess! My Dad helped me out through the process


Finished product - what a difference!


here is my beautiful girlfriend putting the new kitchen to use making some delicious pad thai!


Saturday, February 28, 2015

The Garage of all garages

Hey everybody, I know you all have been anxiously awaiting this sought out blog post wondering when I would be back to share with you more vivacious pictures and detailed commentary on my latest jobs; well, today is your lucky day. I'm back serving you up with some more insight and colorful optical wonders. This job was completed in south Boca Harbor in Boca Raton. The job was to build a two-car garage structure and tie in the new structure with the existing duplex structure that will be (and now is) adjacent to the garage. The garage has a 14' high tie-beam and measures 24' wide by 45' in length. So, needless to say, this is the garage of all garages. The cream of the crop in terms of the size. If you are a firm believer in the saying size matters...well then this garage is for you. There were some challenges with this job upon the first site visit. Primarily, the existing duplex units had overhead electrical wires masted above the roof level that ran vertically down to the meter can boxes that were on the north wall of the existing building (which ultimately turned into the shared wall between the garage and the north duplex unit). We had to coordinate with FPL, the power provider in the south Florida area, in order to remove the overhead wires and switch the electrical service from an overhead to underground service. The meter can boxes had to be moved from their original location to the back of the proposed garage wall, and the existing boxes would then be used as a junction box, which will serve the downstream electrical sub-panel that contains all of the circuit breakers for the duplex units. Once FPL coiled the overhead wires and disconnected the power, the work was ready to commence. The job generally flowed smoothly, and I'd like to think the job came out looking as it should and appealing to the viewer's eye.  We painted the existing residence, and also replaced the roof on the residence as well. Here are a few progress pictures as well as the final product. Hope you enjoy.


Saturday, January 31, 2015

Another one in the books

This past week I finished up my very first renovation in Century Village. Century Village is a 55+ community that contains thousands upon thousands of apartment units where elderly people call home. Most of the buildings were built back in the 1970s, and are really beginning to show their age. And that is where I come in. In this particular apartment unit, the following things were updated:

  • Remove existing kitchen cabinets and countertops and install new kitchen
  • Install new kitchen appliances
  • frame down existing popcorn ceiling, and drywall, tape, and finish for a nice, clean painted ceiling with all wire molding concealed in the framing.
  • Install new master bathroom vanity, remove existing bathtub and transform into shower with frameless doors
  • New floating powder bath vanity, new top, new vessel sink, new toilet fixture 
Below are the pictures. The job took about 5 weeks to complete, and that was including the time off on Christmas and new years.